Internationalization is the process of getting your application ready to support various languages and regions. Localization is the process of adapting it for a specific region or language by translating text and adding locale-specific resources like images.
Why should you care about localization? Because 60% of the iPhone users worldwide are not native English speakers. Localization is a mandatory step if you want to reach a wider audience.
This blog post describes the easiest way to internationalize your iPhone app and validate that your internationalization is correct. It only covers the internationalization of your text resources.
If you plan to support several languages, then internationalization is the first step towards the localization of your app.
Even if you do not plan to support several languages, it is a good practice to internationalize your app up front. This way you can have all the user facing strings isolated from your code. It’s easier to keep your text coherent this way.
An important part of internationalization consists in extracting all the user facing texts from your code and UI files. The goal is to put these texts in strings files that are isolated from your code. Once your app is correctly internationalized, only the strings files should require modification during localization.
Let’s see how it works with an example. The Xcode project that was used for this blog post is available on github: https://github.com/creynaud/ios-internationalization-example
Internationalizing storyboards and xibs
Internationalization of UI files is much easier since Apple introduced Base internationalization with Xcode 4.5. The Base internationalization lets you use your reference language (usually your native language) in your storyboards and xibs. When you add a localization to your app, Xcode generates a strings file for all the text that is contained in each UI file.
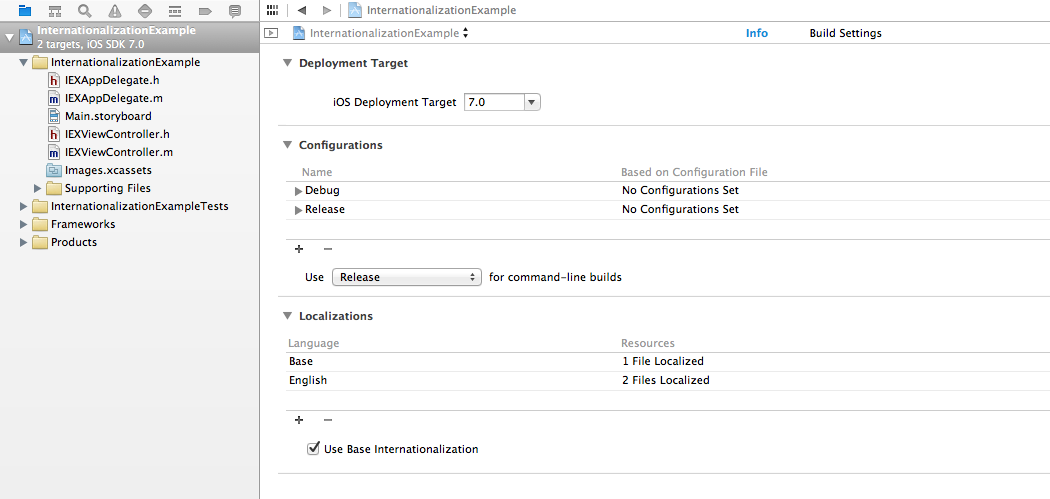
When you create a new project in Xcode, first you should verify that Base internationalization is activated. Note that your project should at least contain one storyboard or xib file to be able to turn Base internationalization on.
To activate Base internationalization, open your project in Finder. Create a Base.lproj folder at the same level as the en.lproj folder that already exists. Back in Xcode, create a storyboard or xib file. Make sure that it is located inside the Base.lproj folder on the file system. Going back to your project settings, Xcode should have detected that Base internationalization is activated now.
If you create more storyboard or xib files later, make sure that they reside in the Base.lproj folder in your file system.
Note: there seems to be a bug in Xcode: though there is only one file (InfoPlist.strings) localized for English when you create a new project, Xcode shows “2 Files Localized”. I usually remove the InfoPlist.strings reference from my project and add it back to get the correct count.
Now that Base internationalization is set up, we can add some localizations. For example, let’s add French and German.

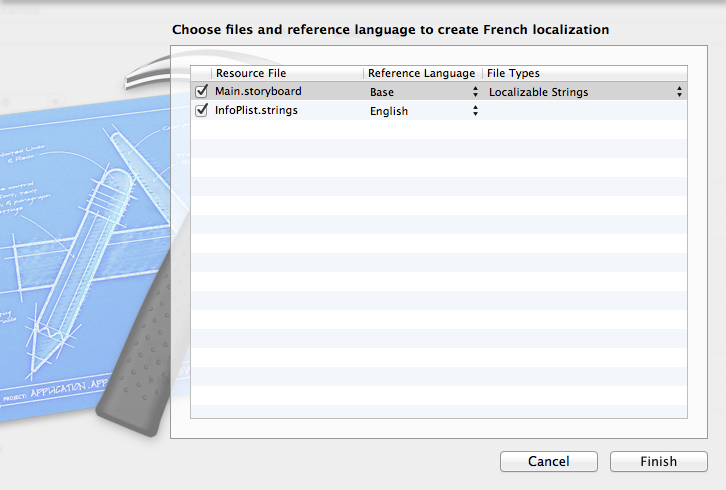
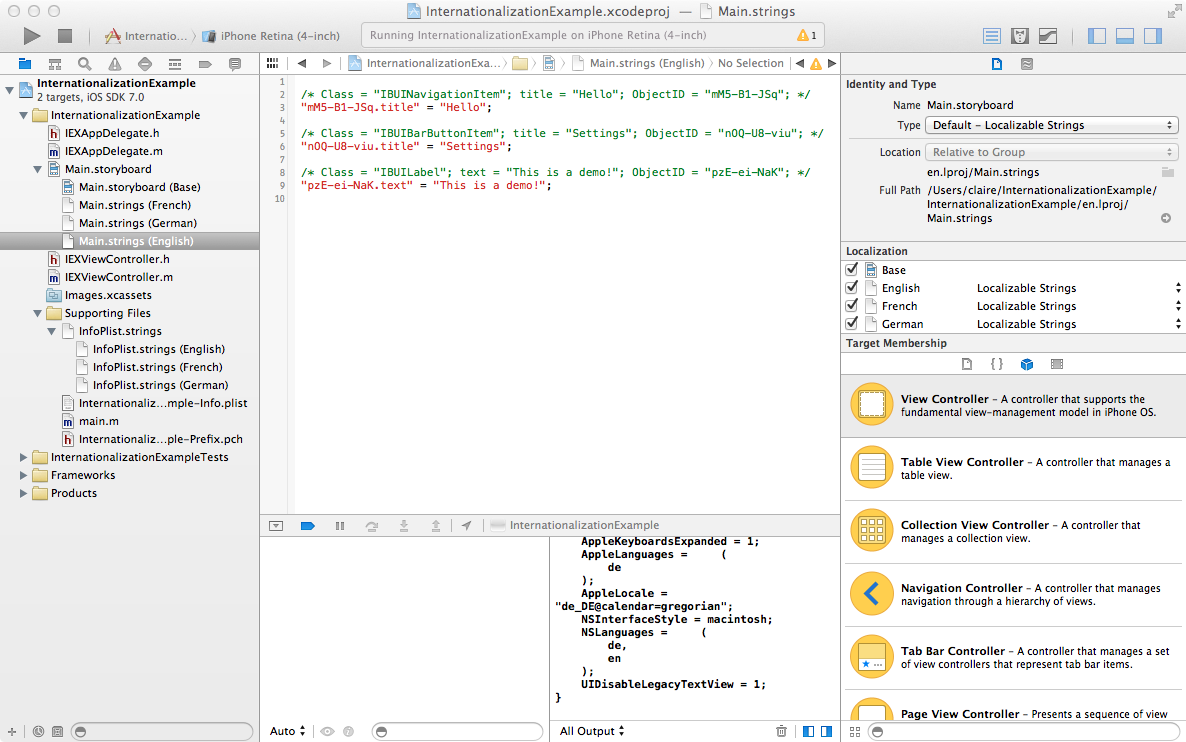
Verify that your storyboard or xib file has all the correct strings files associated with it now. In our case the English reference is missing, so let’s check the box for English to create the corresponding strings file.
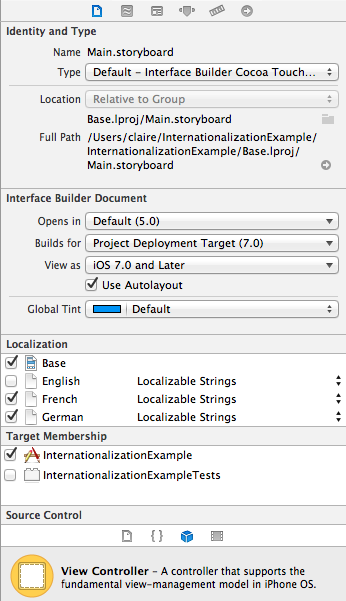
Your Xcode project should now look like this:
Internationalizing strings from your *.m files
Now what if there are some texts in your *.m files that you want to internationalize too? You should replace all your strings by a call to NSLocalizedString, like in the example below:

NSLocalizedString is a Foundation macro that returns a localized version of a string. It has two arguments:
- key, which uniquely identifies the string to be localized
- comment, which is a string that is used to provide sufficient context to the translator
When you are done replacing with NSLocalizedString, open a Terminal, go to your project folder (the one containing all your .lproj folders) and run the following command:
$ find . -name *.m | xargs genstrings -o en.lproj
This will create a new Localizable.strings file in the en.lproj folder.
Do the same for all the languages that you support. So for French and German you would also run:
$ find . -name *.m | xargs genstrings -o fr.lproj

$ find . -name *.m | xargs genstrings -o de.lproj
Finally add the new Localizable.strings files to your Xcode project. To do so, add the English version of the file, then check the boxes to activate the other localizations and choose “Use file” when Xcode asks whether to use the existing file.
Dates, times and numbers
Make sure you are using formatter objects to interpret dates and numbers and to present them to the user. Typically, you should use NSDateFormatter and NSNumberFormatter when displaying dates and numbers.
Internationalizing the name of your app
To be able to localize the name of your app, create an InfoPlist.strings file if it does not exist yet and add a value for “CFBundleDisplayName”:
"CFBundleDisplayName" = "Example";
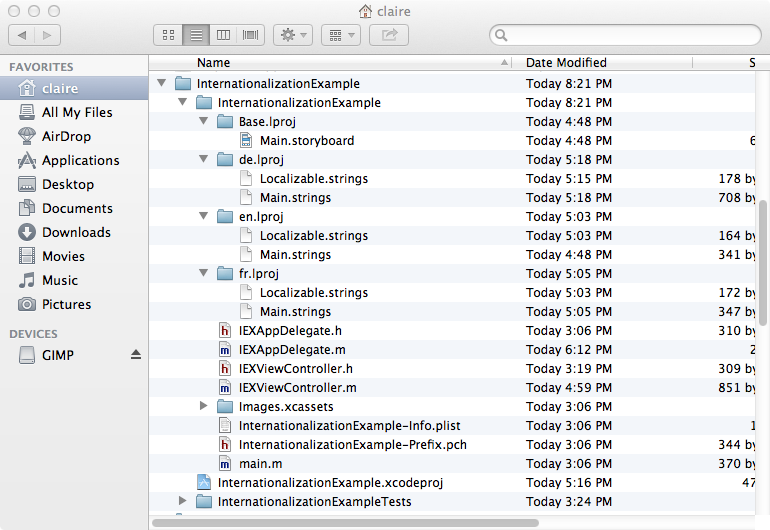
This is how a project should look like on the file system when you are done with internationalization:
- there should be a Base.lproj directory containing your storyboard and xib files
- there should be one .lproj directory containing the strings files for each language that your app supports
The best way to test your iPhone app internationalization is with pseudo-localization. A strings file containing pseudo-localization would look like this:
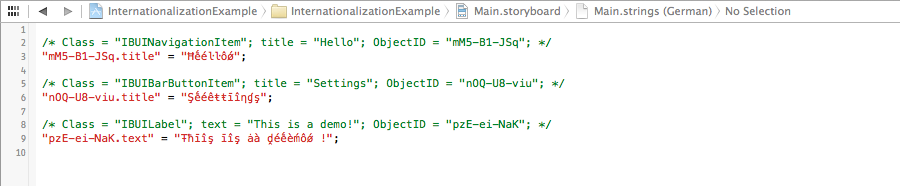
Instead of translating the text into a foreign language, the strings are replaced with an altered version of the original language that is 40% longer than the English version.
The goal here is to make sure that there are no encoding issues with your strings files. If they are encoded in unicode, which is the default if you created them via Xcode or genstrings, there should not be any problem. The other aspect of pseudo-localization is that you can validate that there is enough space in your UI to accomodate for other languages.
When your strings files are pseudo-localized, you should run your app and browse its screens to see if there are any spacing or encoding issues.
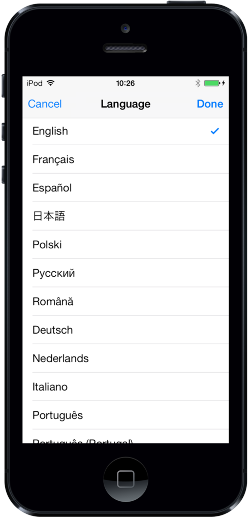
To change the language in the iOS Simulator, you can select “Home” from the “Hardware” menu, then in the simulator select Settings > General > International and select the language you want. You should also try to change the Region format and the Calendar if you display dates or numbers in your app.
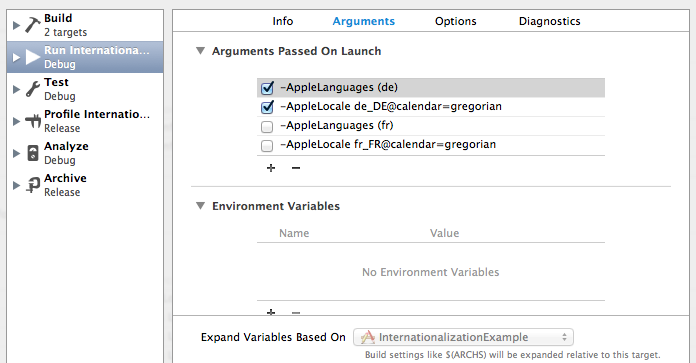
Tip: changing the language of your simulator can be tedious if you have to try several languages. Also changing back to English when you selected a language you don’t understand can be quite difficult! Instead of changing the settings of the simulator, you can specify some launch arguments in the scheme you use to launch your app. Here is an example to run your app in German with a German locale and the gregorian calendar. This will just overwrite the default user settings when launching the app.
Now you should be able to internationalize your app!
Once your app is ready for localization, the next step will be to get it translated. You can have a look at the free translation management system that I use to get started.
Let me know in the comments if you have any question or if you want to share how you internationalized your iOS app. I will be happy to hear about it :)!
Update: Since I wrote this post, my BusyBox time tracker app has been featured in the Japanese and South Korean App Stores, in the best apps for the Business category. #10 in Japan, #3 in South Korea. Getting the app localized sure helped in getting featured :)!
References
http://www.appcoda.com/ios-programming-tutorial-localization-apps/
http://www.cocoanetics.com/apps/linguan/
http://nshipster.com/nslocalizedstring/
http://nshipster.com/launch-arguments-and-environment-variables/
Deprecated doc, but still a good read: https://developer.apple.com/legacy/library/referencelibrary/GettingStarted/RoadMapiOS-Legacy/chapters/InternationalizeYourApp/InternationalizeYourApp/InternationalizeYourApp.html